Upgrade Options and Common Pitfalls for Farm Lighting
Lighting is often one of the easiest and most cost-effective ways to reduce energy use on a farm.
By: Daniel Ciolkosz and John Tyson, Penn State University Extension
While lighting upgrades can be a great energy saving measure, there are a few pitfalls you have to avoid. We'll discuss some of the more common problems you can avoid without too much trouble.
So, you've been to the store lately, and you see all kinds of new "energy efficient" lighting advertised for sale. They sure look good on the shelf, but will these new things actually work and save you money on the farm? The answer to the question is "probably." In fact, lighting is often one of the easiest and most cost-effective ways to reduce energy use on a farm. While lighting upgrades can be a great energy saving measure, there are a few pitfalls you have to avoid. We'll discuss some of the more common problems you can avoid without too much trouble.
Common Upgrades for Lighting Systems
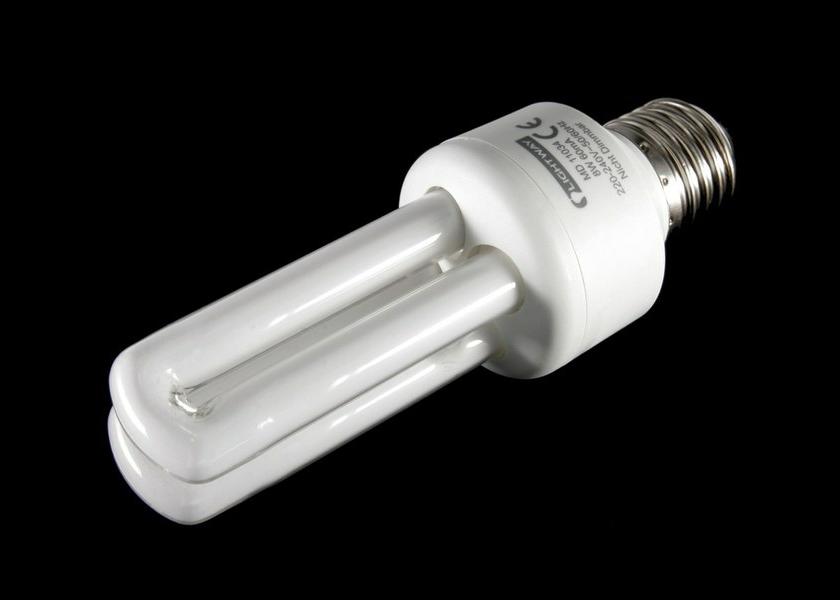
- Replace incandescent lamps with compact fluorescent or LED replacement lamps. This can be an easy way to save on your lighting costs—incandescents are the real energy hogs of the lighting world. Savings of 60 to 70% are not uncommon when upgrading to fluorescents or LEDs.
- Replace T12 fluorescent lamps with T8 or T5 fluorescents. T12 lamps (12/8-inch diameter tubes) are generally less efficient than the thinner T8 (8/8-inch diameter) and T5 (5/8-inch diameter) lamps. Plus, the thinner tubes often have better color rendering characteristics. Savings of 10 to 25% are not uncommon.
- Replace mercury vapor lamps with high pressure sodium, metal halide, or LED. Mercury vapor lamps are an old technology that you sometimes see in "historic" outdoor fixtures in the farmyard. Replacing them is almost always a good idea, from an energy point of view. High pressure sodium lamps give a distinctive "orange glow" that some people like while others dislike, but the light source is rugged, long lasting, and has high efficiency. Metal halide lamps give off a more bluish white light that renders colors better, but they are not quite as rugged or efficient as high pressure sodium.
- Replace worn out or inefficient fixtures with new, high efficiency models. It's not just the efficiency of the light source that matters. If the reflector and/or lens are worn out or if they are poorly designed, they will absorb light rather than reflect and transmit it, resulting in poor efficiency. One study of greenhouse fixtures found that the optical efficiency of the reflector and lens of new fixtures varied from 45 to 61%. This value only drops as the fixture ages, lenses become cloudy, and reflectors grow pitted. Check the condition of your fixtures, and replace the ones that are obviously worn out or are "trapping" most of the light they produce.
- Add automatic controls. Occupancy sensors, timers, photocells, and other fancy controls are readily available to turn lights down or off when not needed. These automated controls almost always reduce energy use, simply because most of us forget to turn off the lights more often than we'd like to admit.
Pitfalls to Avoid When Upgrading Lighting
As with many things in life, there are lots of ways to mess up a lighting upgrade. Here are a few of the more common pitfalls to watch out for when considering what to do on your farm.
- Spending big money on lights that are rarely used. If a light is only used for an hour or two per day, chances are that it won't pay off to replace it with a high efficiency lamp. Let's say that you have a closet with a 60-watt incandescent lamp in it that is turned on about 10 minutes each day. You can replace that incandescent lamp with a 13-watt compact fluorescent and get about the same light output for much less energy use. However, it will take (under typical conditions) almost 9 years to recoup the cost of buying that compact fluorescent lamp. You are better off concentrating on lamps that are being used many hours out of the day.
- Buying cut rate lamps or fixtures that don't perform or don't last. We've heard some reports of new high efficiency lamps that don't hold up well in farm conditions and fail long before their rated lifespan. Similarly, poorly designed or built fixtures can rust, fade, or accumulate heat that contributes to premature failure of the lamps. Watch out for off brands, and make sure that lighting systems are suitable for farm duty. If you plan to clean your barn and lights with water, make sure that the fixtures are properly lensed and gasketed and are rated for "wet" service.
- Forgetting about maintenance. Sometimes, the best tool for improving your lighting system is a rag and a little elbow grease. Dirt accumulation on lamps, reflectors and lenses can wreak havoc with a lighting system, and farms are some of the grimiest, dustiest places around. Be sure to clean your lighting system at least twice per year to maintain good performance.
- Using too little lighting. Too often, lighting installers base their designs on the initial output of brand new, clean fixtures in a shiny new barn. This might be o.k. for the first week or so of operation, but after that, dust, grime, and the aging of the light sources will reduce output, causing substandard lighting conditions. Because of this, a lighting system should be designed to initially produce more than the recommended illuminance level, so that when it is old and dusty, it can still perform up to standard. This is important to do even if you do clean your lighting system regularly. If you are concerned about over lighting during the initial weeks of operation, you can use dimmers or selective switching to bring the initial illuminance down to the recommended values.
For more information on energy check out the Penn State Extension Renewable and Alternative Energy website.